
With Eventdrive, you can create one or more badges in your event.
I invite you to follow the steps below:
Step 1
Go to the administration tool Eventdrive, go to INVITE, then Badges.
Step 2
Click on New badge.
Step 3
Once this step is done, you will see in this feature split in 2 parts:
- Badge
- Settings
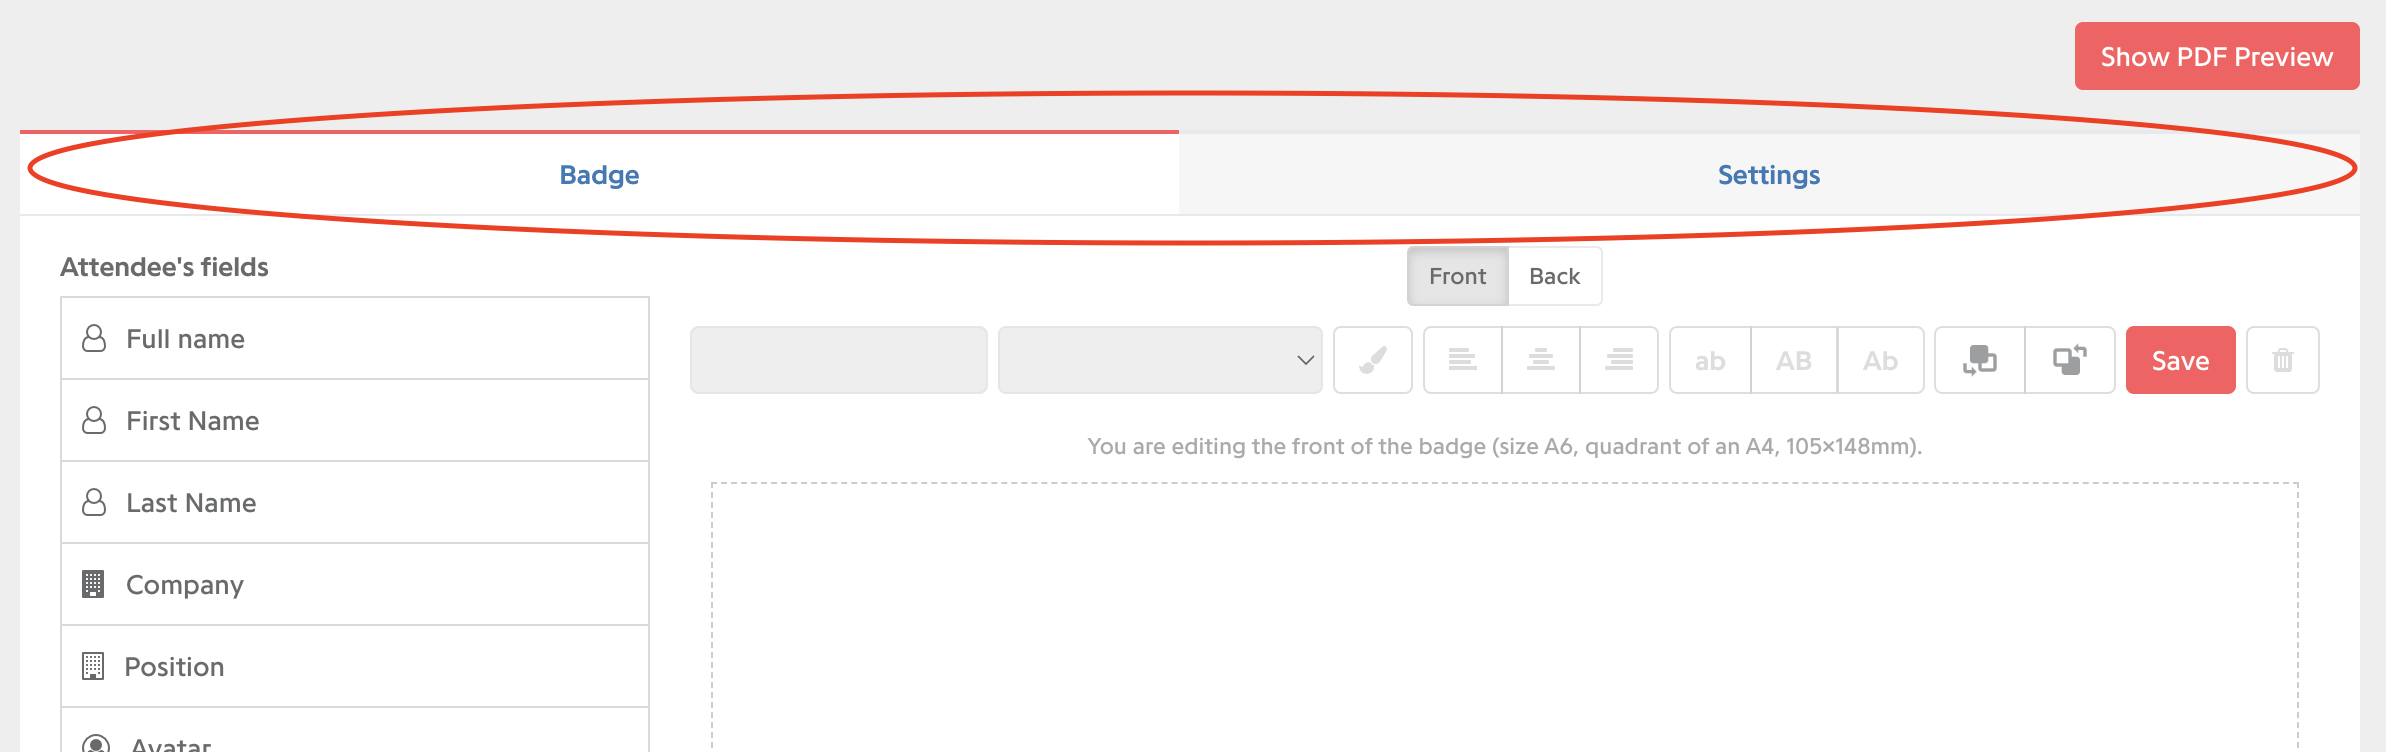
Step 4
Go to the first block, named Badge.
On the left side, you will find the fields that Eventdrive proposes, such as: Attendee fields and Components.
On the right side, you have the fields of your badge visible with the Recto/Verso.
Click on the fields you would like to appear on the badge.
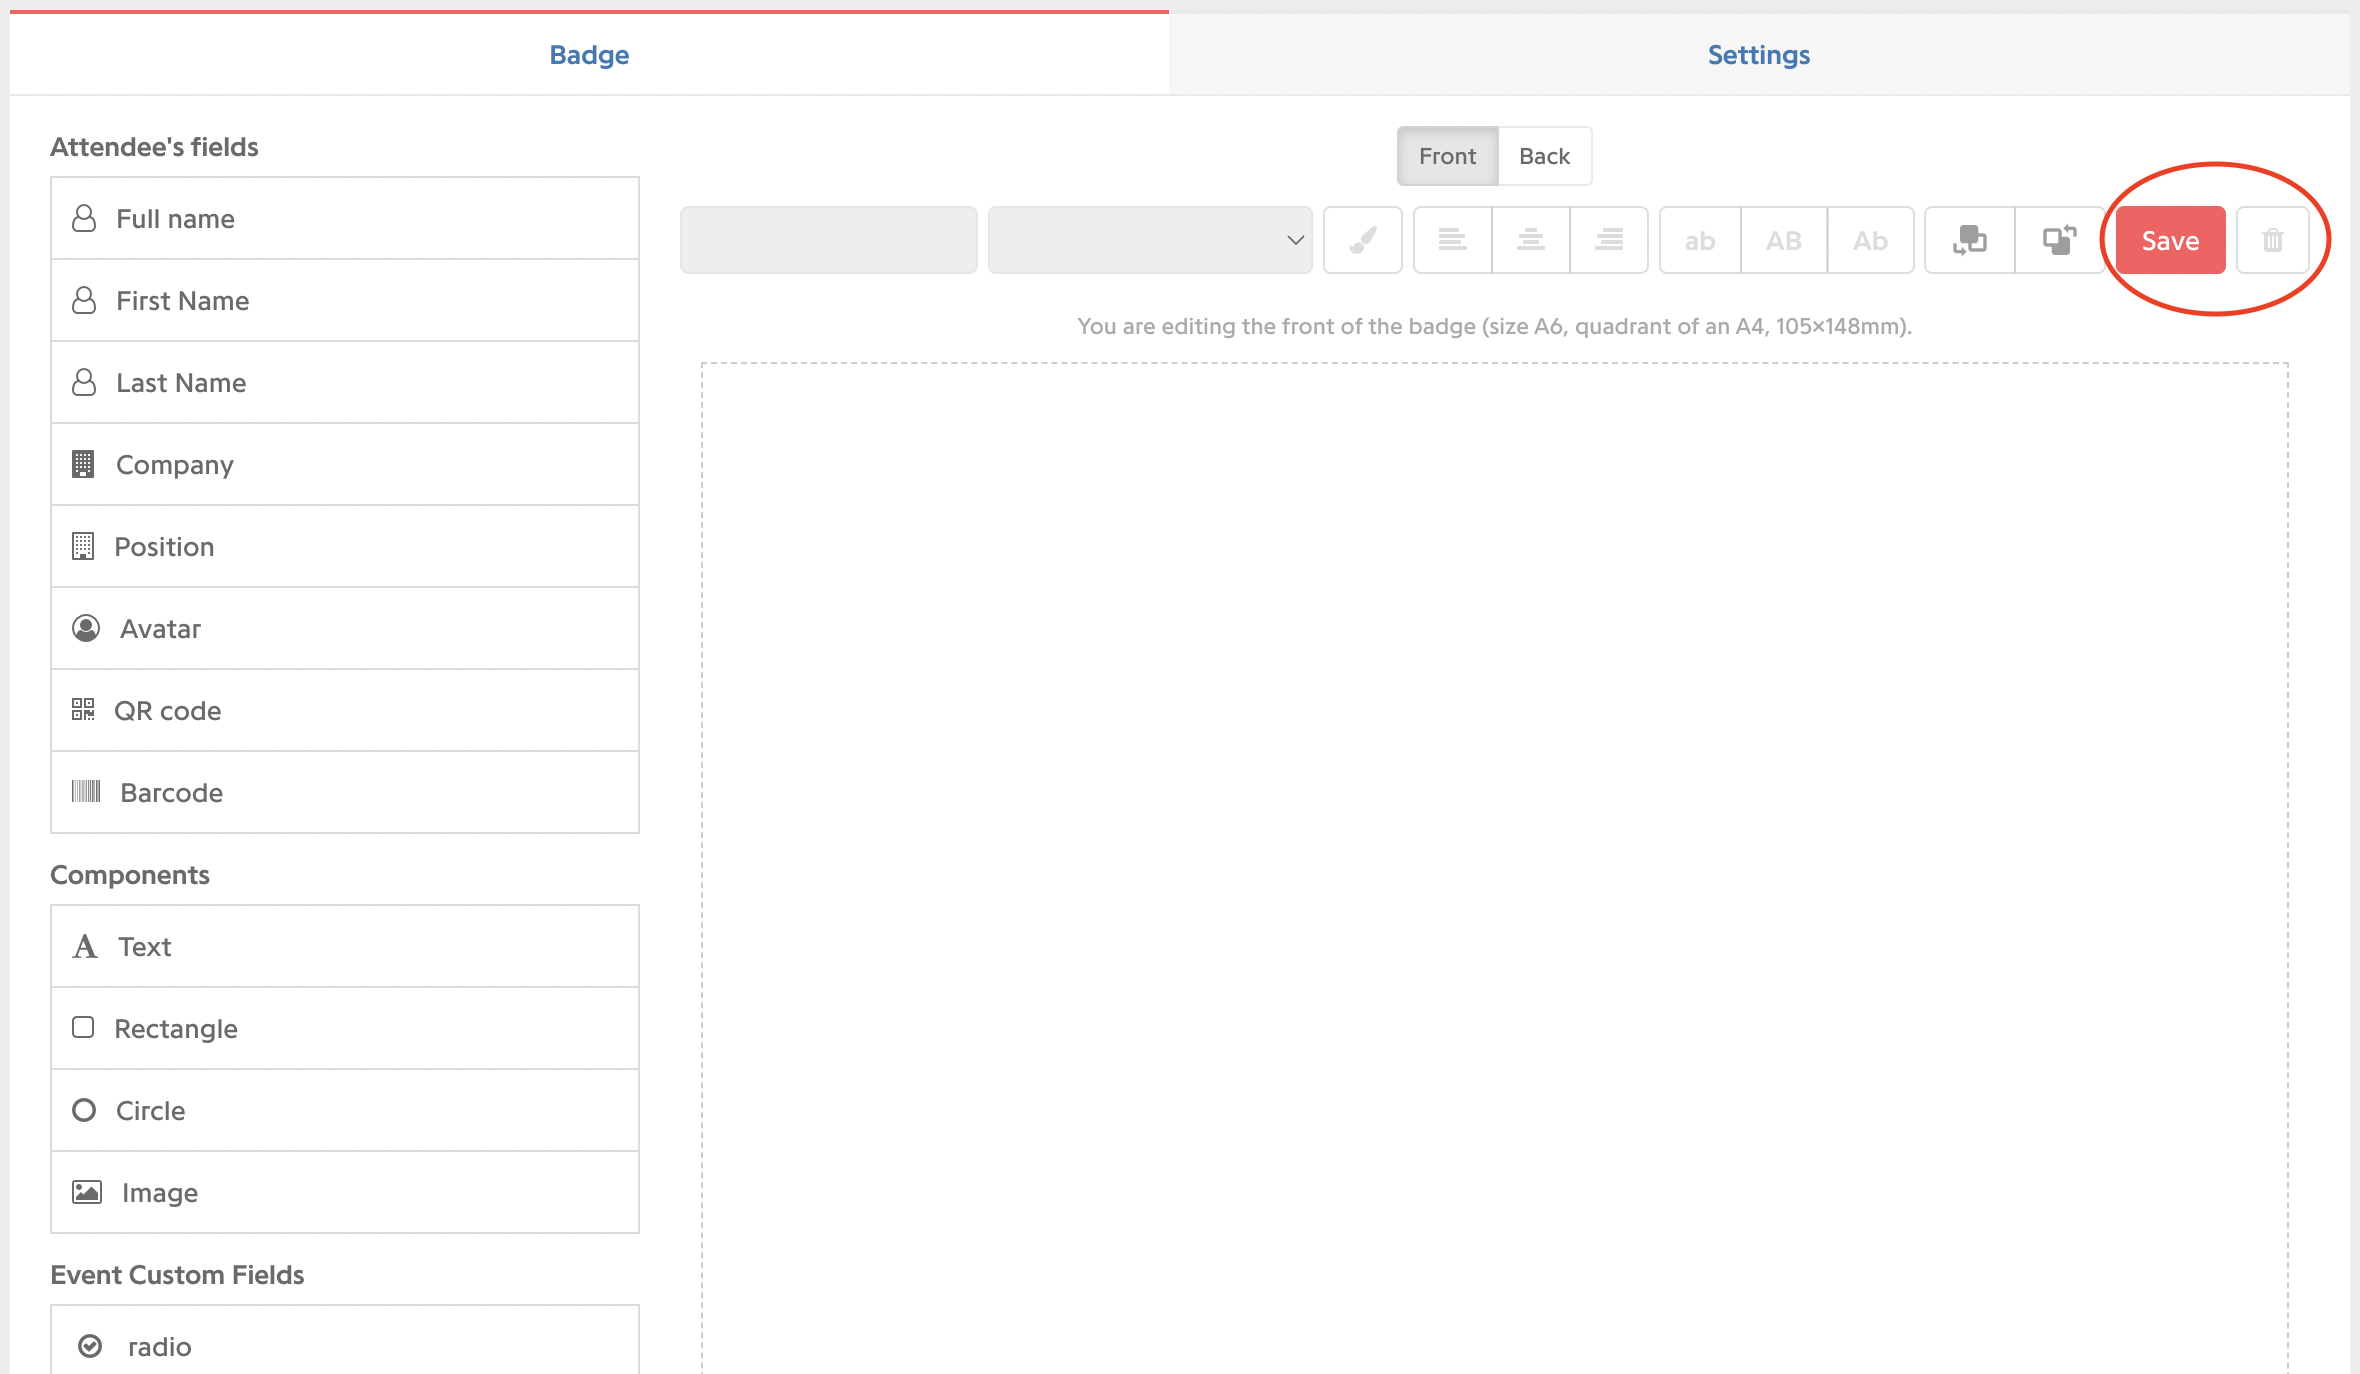
You can now use the tool bar in order to personalize your badge, change your fonts, the size, the place...
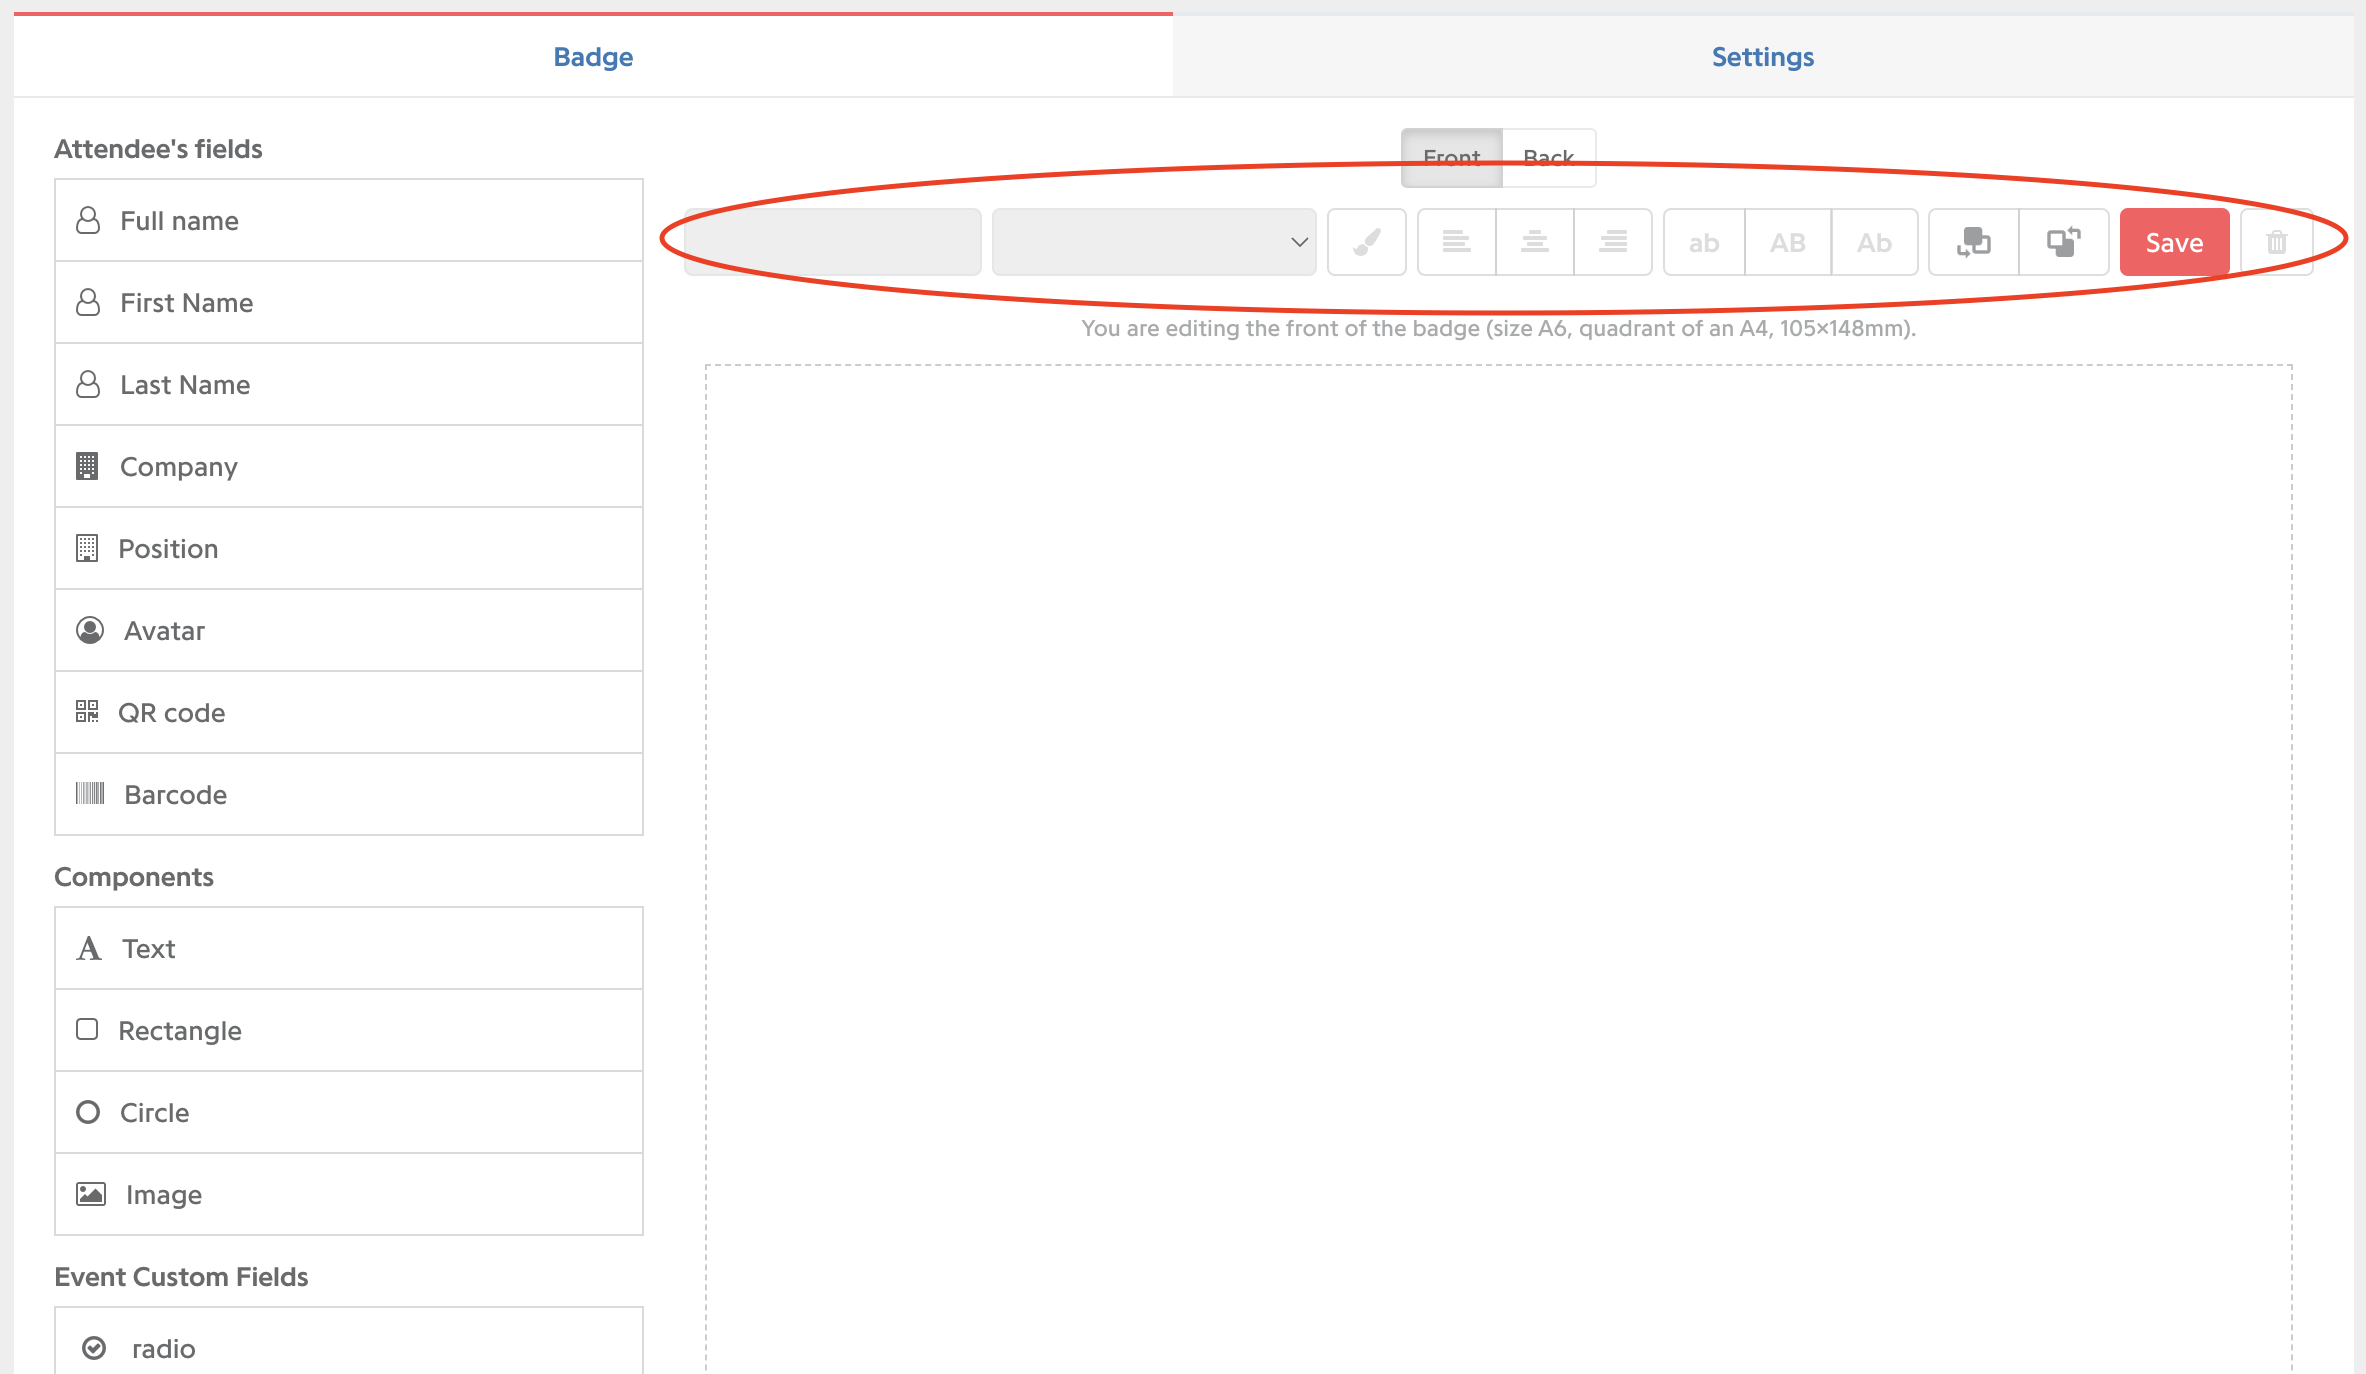
Click on the save icon to save, and the ben icon to delete.
When your recto fo your badge is done, click on the Verso button to create the other side.
- To preview you badge, click on Show PDF Preview.
Step 5
In the Settings tab, you can manage :
- Badge name: name your badge.
You will be the only one to know this name. It won't be seen by your attendees. - You have the choice between :
- Large size badge with neck ( 105 x 148 mm )
- Business card size badge ( 90 x 60 mm )
- Invitation card ( 155 x 108 mm )
- A4 ( 210 x 297 mm )
- A5 ( 148 x 210 mm )
- A5 landscape (210 x 148 mm) - Print mode : choose between Side by side and Recto Verso.
Click on "Save" at the bottom right of the page.
Step 6
In the badge settings you can display the first 3 sessions of your attendees.
⚠️ If your badges already have informations on the back, it will be removed
This option is available on all badge formats and will adapt its font to the most used one on the badge.
⚠️ Text color can not be modified.